PaintCode is a shiny little but yet powerful graphical tool developed by PixelCut, which seeks to facilitate the creation of UI elements for iOS and Mac OS in a really fancy way. The application is available in Apple App Store with a trial version as well. It is a drawing app that by using vector graphics generates all UI elements as Objective-C code in real time. You draw the shape and it produces the code that can be copied and pasted into your application in your own drawing method to display it on the screen. Let's get it on the road with an example and figure out the pros and cons of that approach. The information available, regarding practical usage of PaintCode, online is insufficiently limited so we have gone with the “break your neck” approach.
PaintCode interface is modest but very intuitive, most of tools that designers use every day can be easily found without looking into docs. It worth to mention that in our case for an experienced designer it took eight hours to fully take over the functionality that PaintCode provides. Not that an exhausting investment at all we need to admit. Polygon, rectangle, ellipse, Bezier curve are the tools the designer is limited to use and with it create fancy graphical elements. But do not be afraid it is a quite powerful set to have most of it done successfully.
The main part of the application’s window is the working field, which you can customize by using the button in the right corner below it, and the lower part of the window is a preview of the control and auto generated code. Code is generated immediately and responds to all actions in the field. You can choose different types of generators like Mac OSX, iOS with applying ARC or Retain/Release scheme in generated code and optionally to produce C# code for MonoTouch framework as well. Quite exceeding optional set for iOS especially. There is no need to describe all features of PaintCode because it is available in the documentation available online. Better assess its capabilities by trying it out with a real example. Let’s create a button with an equal outlook to the prototype painted in Photoshop, that is it.
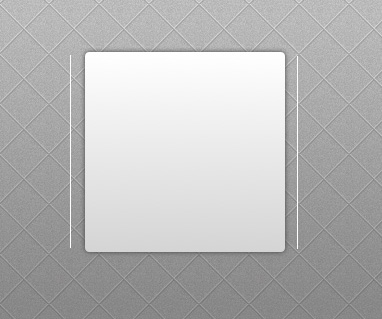
A Photoshop sample that gives us the target that we will strive at:

We will make all things happen in just in 10 steps.
1. Start PaintCode and create a new project.
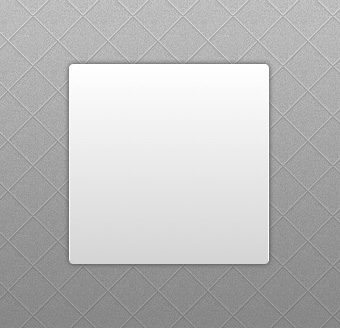
2. To create the button's main area draw a rectangle of the size 200x200px
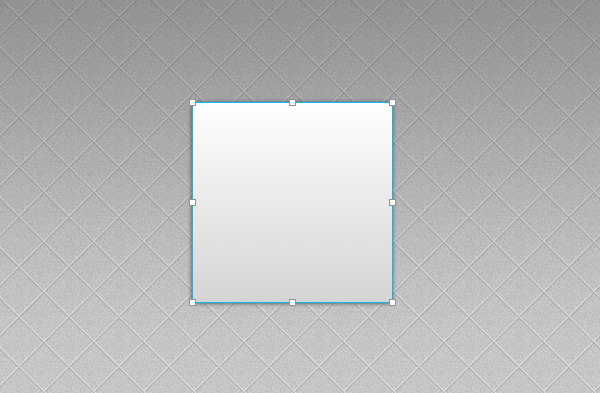
We will set radius to 4px to make corners rounded

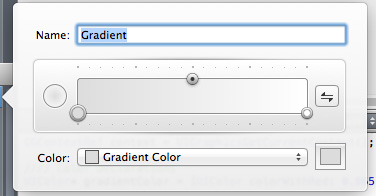
Fill the rectangle with gradient like shown on the image below
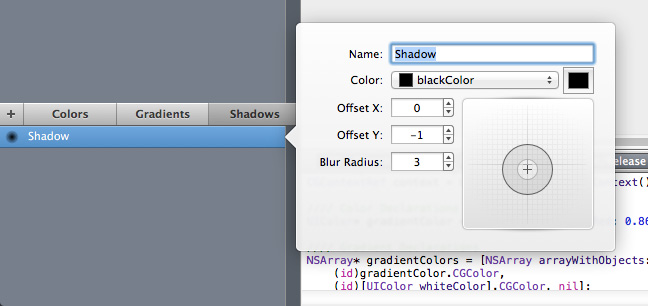
3. There is the shadow around the button's edge on the sample, therefor we have to add the shadow effect.
Accordingly to docs there are 2 basic ways of adding a new shadow:
- Ensure the “Shadows” category is selected in the Library header and click on the “+” button.
Click on the “Add new shadow…” menu item in a shadow popup button menu. This also sets the newly-created shadow in the popup button.
- After adding a new shadow, a shadow editing popover appears. Set parameters as presented on the screenshot below.
4. In the original Photoshop image, the left and right side of the button has a white fuzzy border
There is no way to repeat the same in PaintCode, therefore, we are destined to go with 1 pixel lines instead.
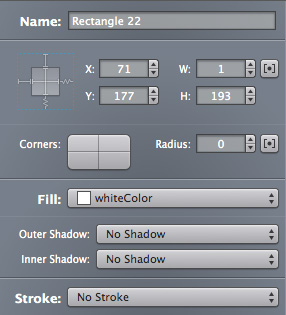
We are setting parameters, to make lines with rectangles, like shown below
Now all combined in one shape with lines on the left and right side of it.
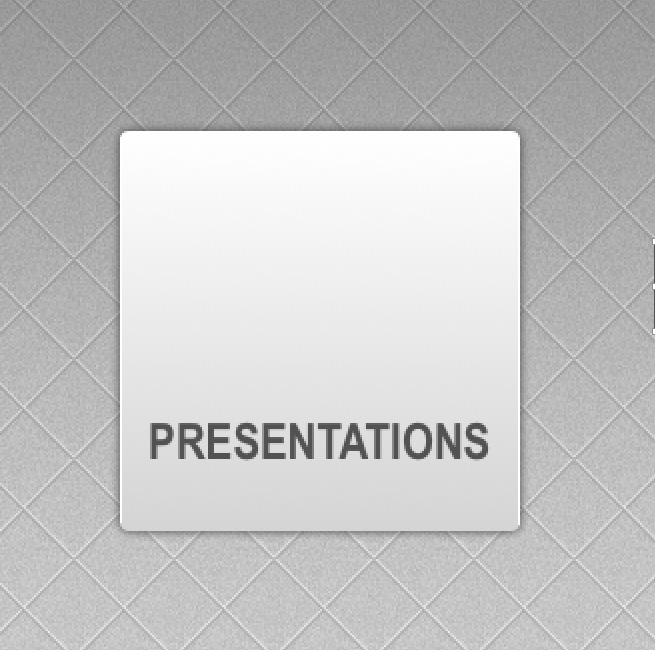
5. Add the button's caption.
The whole text is uppercased but there is no built-in conversion and we have to entered text with the CAPS LOCK turned on. But not that difficult either.
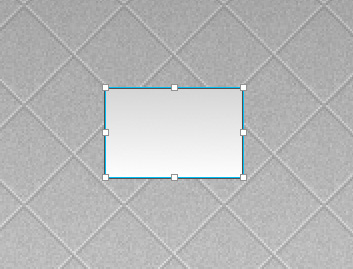
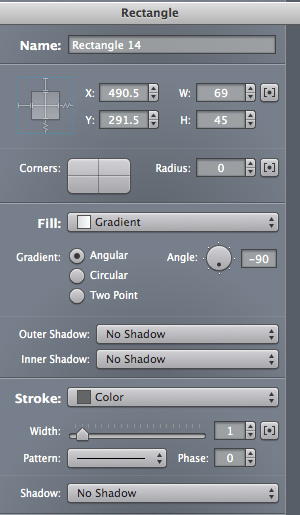
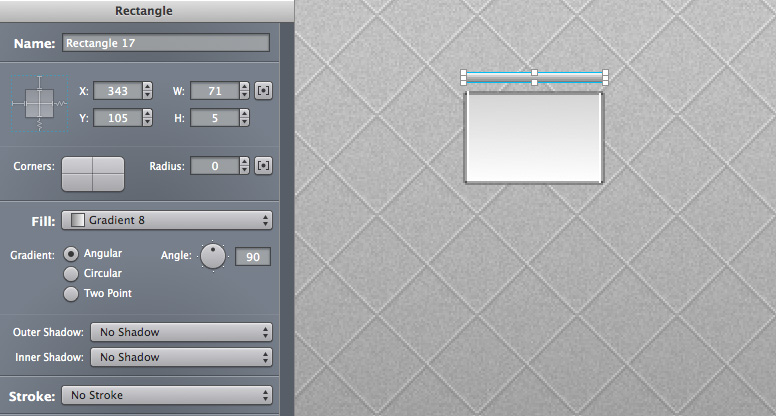
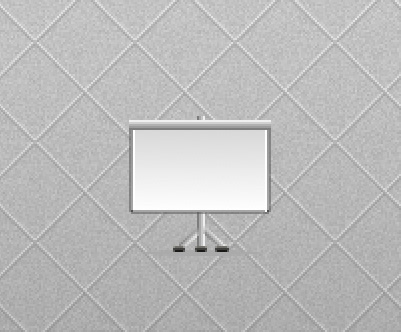
6. Now let's add an icon inside that looks like a presentation board.
Select the rectangle tool and draw a frame of size 69x45px, which has the dark grey stroke and gradient.
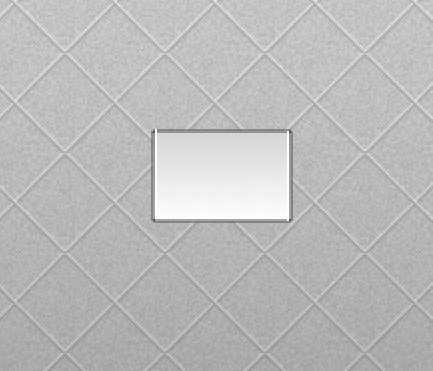
7. Add lines, with 1 pixel width, on both sides of the frame as we already have done previously.
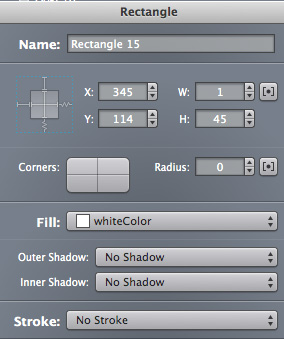
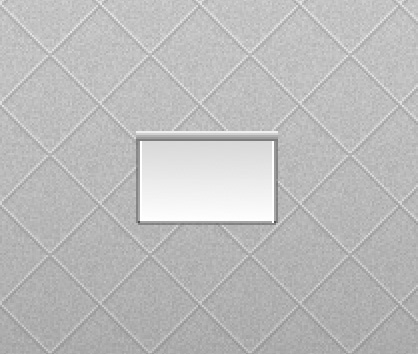
8. Add a smaller rectangle above the frame and fill it out with gradient as well.
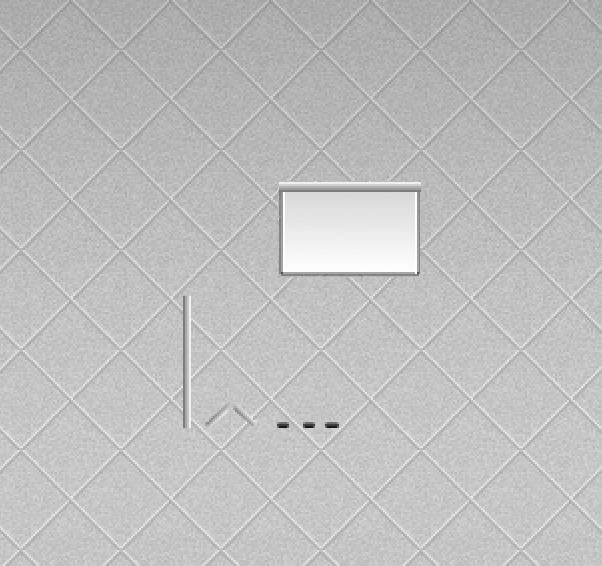
9. Creating other board's missing parts
To finish the presentation board we need to add some missing parts. All elements of it are shown in the picture below. You cannot rotate the rectangle to a specific angle because an option is not provided in the application. We have all non-standard shapes to be drawn manually with Bezier curves. Not that cool, isn't it?
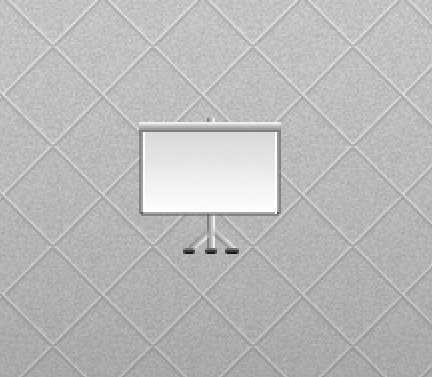
Combine all the elements and add a shadow below the board.
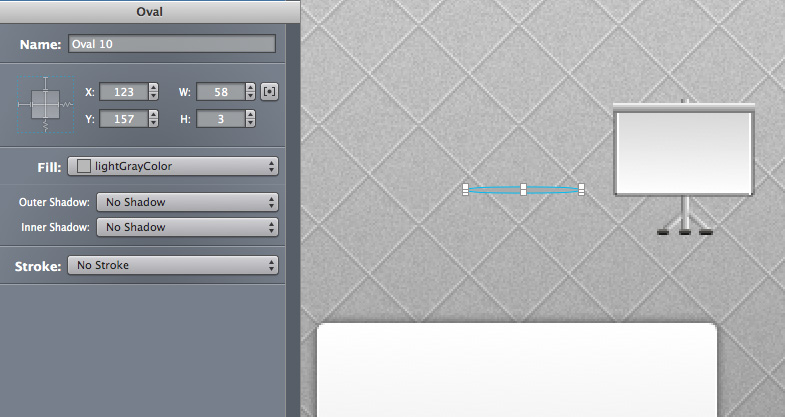
The shadow object is a grey oval.
After we have placed the shadow below the pad we have an icon finished.
10. Joinig all parts together
Let's place the elemets created into the button's rectangle, that was created previously, to finalise our great effort and make a complete image of the button's view
The great thing is that the application remembers all user actions and you can easily roll back to any stage of your drawing progress.
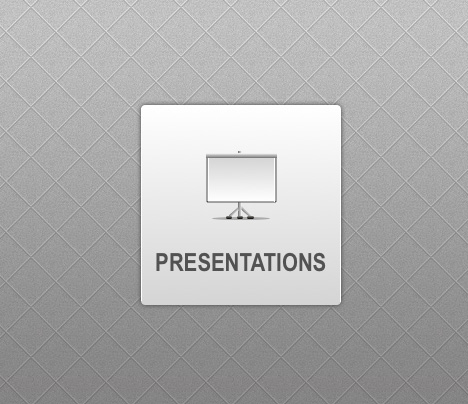
Let’s compare received results to the original(right) on the image below.

It turned out to be pretty clouse to the original, with about 90% of similarity. Now you can copy and paste the generated code into your xCode project as we have already desribed in one of our previouse posts. You can read more about it here "iOS UI that shines forever with UIAppearance and Core Graphic".
In the same way we have created two more buttons that are shown below. After you gain some experience with PaintCode the whole process becomes just as natural and simple as with any other grapthical editor.
Summarizing, we can say that PaintCode is an interesting tool, which is worth of attention anyone who cares about compatibility and UI perfectness. Of course creating entire interface with PantCode yet could be a problem, as it has a quite limited toolset provided if comparing with the matured graphical editors like Photoshop (some shapes are difficult to draw with currently provided functionality and initially it is tightly bound to the standard elements). In that case you can draw it in some another tool(Adobe Illustrator, CorelDRAW, Inkscape via export into SVG) and then import it as SVG file into PaintCode for smaller changes and for receiving Objective-C code.
The absence of layers concept and possibility to align objects require from you additional effort if you need to create more complex shapes and especially its combinations. We have found that PaintCode automatically saves changes to the file without prompting the user. What would better to be as an additional option that allows switch it on/off. Any way PaintCode is powerful enough and very convenient if being used for the specific purposes like styling standard elements, buttons, filters and can be uset in most of cases.
Categories
Tags
Favourite posts
Getting an e-Commerce website online might sound like a huge undertaking,...
WebView displays web pages. But we are interested not only in web-content...
Google Maps is a very famous and helpful service, which firmly entrenched...
RSpec is an integral part of Test Drive Development (TDD) and its main id...
When developing a web application that extensively works with user input ...
Field configuration defines behavior of all standart (system) fields and ...
As you might have already heard, the latest stuff for upgrading rails was...